The Salon-Grade Home Pedicure: 45 Minutes to Summer Feet
Quick Answer: Soak 10 minutes, file heels while damp, trim nails straight across, then paint: base coat, two thin color coats, and a top coat wrapped over the front edge of each nail. That edge wrap is the three-week secret. Total time about 45 minutes, and the supplies pay for themselves after one salon visit.
A salon pedicure is lovely, costs around $40 plus tip, and is booked solid from May through August.
The home version gets you roughly 90% of the result using supplies you’ll own for years. The catch is that it’s a sequence — do the steps out of order and you get a nice foot soak that chips in four days.
Here’s the order, plus three tricks that professionals use and nobody mentions.

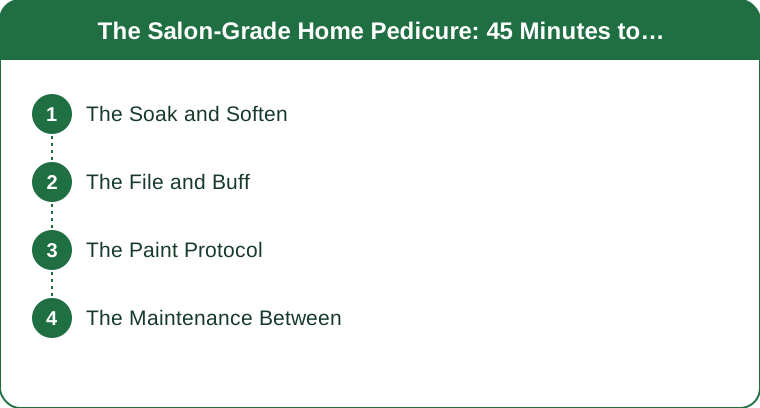
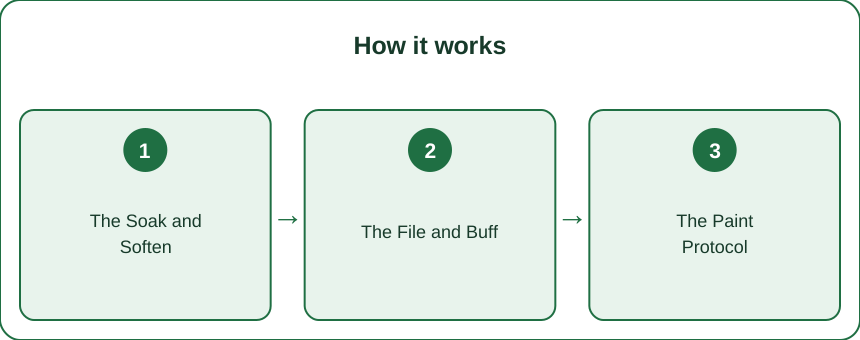
Step 1: Soak and soften (10 minutes)
Warm water, a handful of Epsom salts, ten minutes, and something to listen to.
The soak is doing real work — it softens skin and nail so everything after it goes faster and gentler. It’s also the part that makes this feel like a treatment rather than a chore, which matters for whether you’ll do it again.
Afterward, push the cuticles back gently with a wooden stick or a rubber-tipped pusher. Never cut them. This is the first professional rule: cuticles are a seal against bacteria, not decoration. Cutting them causes hangnails, ragged regrowth, and occasionally infection. Push, don’t cut.
Step 2: File and buff (10 minutes)
Trick one: file the heels while they’re still damp. Wet filing is dramatically more efficient than dry filing — the softened skin comes away faster with less pressure. Most people do this backwards, dry everything off first, and then work twice as hard.
Moderate pressure, contained ambition. Over-filed heels grow back tougher as the skin protects itself, which is why aggressive callus removal creates a monthly problem. Take off enough to be smooth, not enough to be pink.
Then the nails: trim straight across, not curved. That’s the ingrown-toenail prevention cut, and it’s the second thing salons do differently from most people at home. Soften the corners with a file rather than cutting into them. Finish with a light buff over the nail surface so polish has something to grip.

Step 3: The paint protocol (15 minutes)
Wipe each nail with rubbing alcohol or a nail-prep swab first. Any oil left from the soak or a lotion will lift the polish within days — this ten-second step is worth more than most people expect.
Then:
- Toe separators, or folded tissue woven between the toes.
- Base coat. Prevents yellow staining from dark colors and gives the polish something to bond to.
- Two thin color coats, with 2 minutes between them. Thin is the operative word — one thick coat stays soft underneath for hours and dents on everything.
- Top coat, wrapped over the front edge of each nail. Trick two, and the big one: run the brush along the free edge of the nail as well as the top. Sealing that edge is what stops chipping, and it’s the difference between a 10-day and a three-week pedicure.
- Wait an hour before anything structured goes on your feet. Flip-flops or bare feet only. Sandals were invented for precisely this moment.
What Nobody Tells You
Trick three: maintenance is where the lifespan actually lives. Thirty seconds a day beats another 45-minute session. Heel cream at night under a pair of cotton socks, once a week, does more for foot skin than any single treatment. A fresh layer of top coat around day ten resets the shine and adds another week. And ninety seconds with the foot file in every other shower means your next full pedicure is a refresh rather than a renovation.
Cold feet ruin polish. If your feet are cold, the polish takes noticeably longer to set. Do this in a warm room.
Quick-dry drops are worth the $8. A few drops of quick-dry oil on each nail cuts the danger window substantially and adds a shine.
Dark colors need the base coat more than light ones. Reds and deep blues will stain a bare nail yellow within one wear, and that stain takes weeks to grow out.
When to see a professional: thickened, crumbling, or discolored nails may be a fungal infection that needs treatment rather than polish. Diabetes or any circulation issue in the feet means callus removal and cuticle work should be done by a podiatrist, not at home — this is one place where the DIY version genuinely isn’t advisable.
FAQ
How long does a home pedicure last?
With the edge-sealing top coat trick and a refresh coat around day ten, three weeks is realistic. Without sealing the free edge, expect chipping to start around day 7–10 regardless of how carefully you painted.
Should you cut your cuticles during a pedicure?
No. Cuticles seal the gap between nail and skin against bacteria, and cutting them invites hangnails, ragged regrowth, and occasional infection. Soften them in the soak and push them back gently with a wooden or rubber-tipped tool instead.
How often should you do a pedicure?
A full pedicure every three to four weeks suits most people, with light maintenance in between — a quick heel file in the shower, weekly heel cream under socks, and a top coat refresh at day ten. That rhythm keeps each full session short.
TL;DR:
- Sequence matters: soak, file damp, trim straight, prep with alcohol, then paint.
- Push cuticles, never cut them.
- File heels while wet — far more efficient, and don’t over-file or they regrow tougher.
- Base coat, two thin color coats, top coat wrapped over the free edge. The edge wrap is the three-week secret.
- Maintain with weekly heel cream under socks and a day-10 top coat refresh.
- See a podiatrist for thickened or discolored nails, or if you have diabetes or circulation issues.
Keep Reading
This article is for general informational and styling purposes only. Fit, sizing, and product availability may vary.